i'm putting my faith in this jack right now all so i went ahead and grabbed some
handy oops if it's being nice what's up guys hope you guys are having a great
day thank you for coming by for another video as you can see from the title the audi
unfortunately needs some brake pads so today i'm gonna go ahead and do that and i'm gonna
show you guys the process on how i do that it's not too difficult um should be about 20 minutes
per side give or take and uh yeah let's get right into it all right guys so for this install you
don't really need much um you're going to go ahead and need obviously a jack you're going to
go ahead and need your 17 millimeter socket tool whatever you use you're going to go ahead and want
to grab a 13 millimeter whether it's a box end or a ratchet it does not really matter you're going
to want to need a 17 inch open wrench for sure to hold the lock screw on the caliper and you're
going to want to you grab a piston compressor tool whether it's one of those or one
of these it doesn't really matter um and i grabbed a flathead just in case for
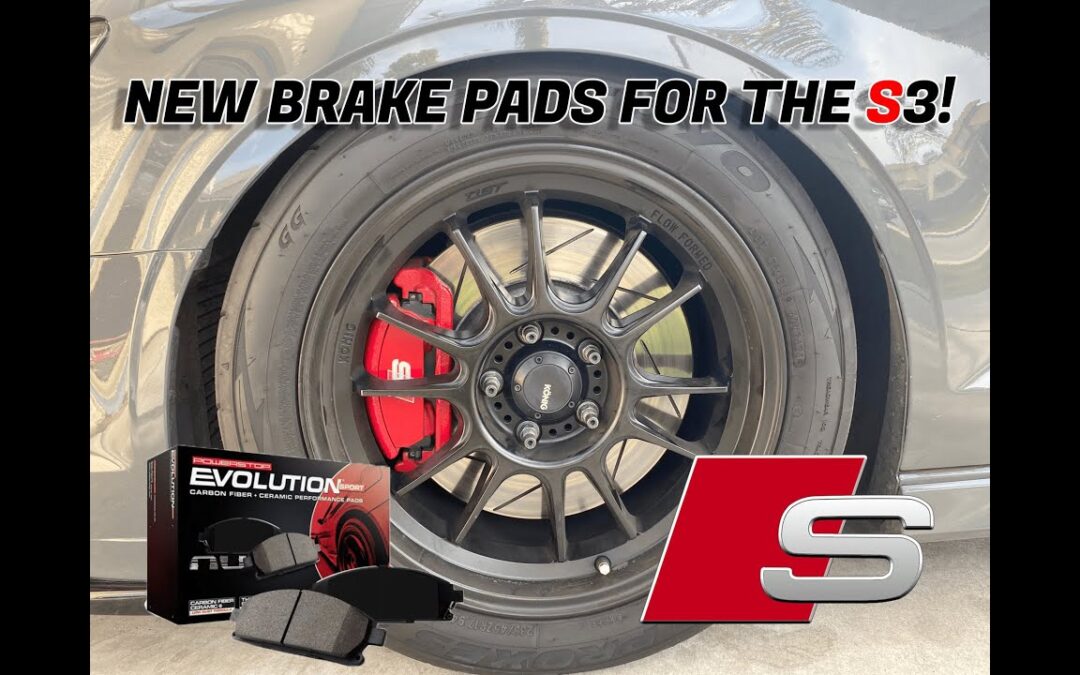
the pad sensor clip um these are the pads i ran there's some there's some cheapies um you know i
wasn't too worried about i'm gonna get stop tech set here soon so i was not too worried about
the pads that i bought here they're just some carbon fiber ceramic if i can even get
these out of the box hold on a second here um you see they have the sensor and whatnot
there um these should do the job just fine not too worried about it here as i do have
a daily driver until i get the stop tech so this is just to get that annoying light
off of my dash and um yeah boys let's do this so first step is obviously jack the
car up and uh let's get the wheel off all right guys so we went and got the
wheel off um i do recommend using a jack stand as you can see my lazy ass is not
using one but i do recommend you use one just for safety measures um i'm putting
my faith in this jack right now all although i do believe it will hold me i would not
recommend doing this it's just a lot smarter to use your jack so be sure to use your jack um next
step now that we have the wheel off is going to be to grab our 13 inch ratchet or open
end and our 17 millimeter open end all right guys once you have your tools ready to
go you're going to go on ahead and get into the inside of the caliper and there will be the
13 you attach the ratchet to or your opening and you will need that open end for this lock nut
right here on the caliper this will be your 17 and you're gonna go ahead and just
loosen this up and uh i'll be back all right once you loosen it out it should be a
bolt looks just like this one this is your 13.
All right and you will want to run the exact same
step to the bottom nut so there's the top nut we just did right here and there is one directly
below it and that's the only two that hold on this caliper cover so go ahead and do the same thing
to the bottom and just like that we got our second one out now the caliper is resting you're going to
want to grab maybe a zip tie or if you have a you know any type of those rubber hangers you can hang
up on attach it to your spring maybe um but either way you're going to want to find a place to hang
this caliper and i will do that and be right back so i went ahead and grabbed some handy oops uh all
right saw that again so i went away i went ahead and grabbed some handy-dandy zip ties um these
come in handy you know the deal they they're honestly used for anything it's like duct tape
um so i'm gonna go ahead and use these to secure my caliper to somewhere right there that's not
gonna break anything and i'll show you what i did all right so if you can see i basically made a
chain of about three or four zip ties to hold that out of my way a little bit more difficult than
i thought doing it with one person but um yeah get that hung up and your next step would be to
literally pull the pads out take a gander at them these are looking like not that
bad let's check the other side um pretty even where but as you can see i was getting that annoying brake sensor
alert on my dash because that busted the fuse so let's get these swapped out literally the
same thing you just pop the new ones right in now just don't forget to unplug your
brake pad sensor and replug the new one in if you've never unplugged this before
it's not a bad idea to take the new one and um basically figure out how it unclips you
don't break any clips take your time don't break a clip and um make sure you put the right pads
on the right side because only one of these sides have a sensor the other pads have no sensors so
you don't want to screw yourself on that one be sure to replace that sensor and i'll be back once
i do all right boys so pull this off of its little holder there and you'll have better access to
visualize and see how that clip comes undone um but should be good to go there shouldn't
have an issue taking that off go ahead and slip you're gonna want to slip the new sensor
on and install the pad if it's being nice oh this one's already bent let me restart all right guys and when you're installing this pad
or any of these pads you're going to want to make sure to put these pins in first because these
are what give the pad a little bit of tension while they're just resting in here let me try to
do it one-handed and show you guys what i mean so these pins are going to set against the flat
part of this edge kind of like that and you're going to do the same thing to the top put that
side in first and you can press against while the rest of it slips in kind of like that boom bang
nice and solid got both the brand new pads on here are the old junkers had about like four
or five mil left but still sensor came on time to replace them all right guys i just wanted
to mention i'm only doing pads because my rotors are still good i got these not that long ago i got
them about 10 000 miles ago so if you are not sure just go ahead and give your rotor a nice feel
all the way up and down and if you can feel a lip right at the top kind of where the pad would be
making a groove then you kind of know it you're getting close to needing some rotors um mine are
literally smooth all up and down like there's no ridge at all in the no lips so i'm going to go
ahead and keep these for another set i replace my rotors every two pads i know the dealers might
try to get you rotors every time but it's honestly not necessary unless you're doing really hard
track use and at that point you already know the deal so just wanted to add that in guys and once
you have your inside pad in your outside pad in make sure you grab your brake pad
sensor and clip it into its new home like so boom click that's all secured all
right guys now that we got both pads in check right there make sure they're secure all
your pins are in on each side make sure your new sensor is secured put it back into
its holder and the next step is going to be compressing this piston and what i like to
do is pop the hood pop the hood pop the hood pop the hood we come over here to our reservoir and um i'm gonna go ahead and just take
the cap off set it somewhere safe that might not be safe for you but it's safe for me
here and um we're gonna compress this piston all right guys so once you have your
piston spreader tool in here you're going to want to just expand that
until the piston is flush against its little home there and i'm going to
do that right now as you open the master cylinder for the brake fluid it should
make this a little bit easier for you and voila we have a freed up space for two
new pads and it is not a bad idea to go and add a dollop of grease just where metal on metal
contact is going to be i did that on both sides um it's optional honestly i've done it before
and i haven't done it i haven't really noticed a difference but for purposes of this video
we are adding some brake component lubricant all right guys once you slip
your caliper cover back on obviously it's still loose i haven't
tightened it you're going to want to grab the bolts you took out and reinsert them all
right guys once you guys have this secured back on that will tidy up this side and then you can go
ahead and repeat the exact steps on the other side after you guys get your wheel back on don't forget
if you took this step to go ahead and replace your reservoir cap a nice little snug
torches in the wrist and uh that's it boys you