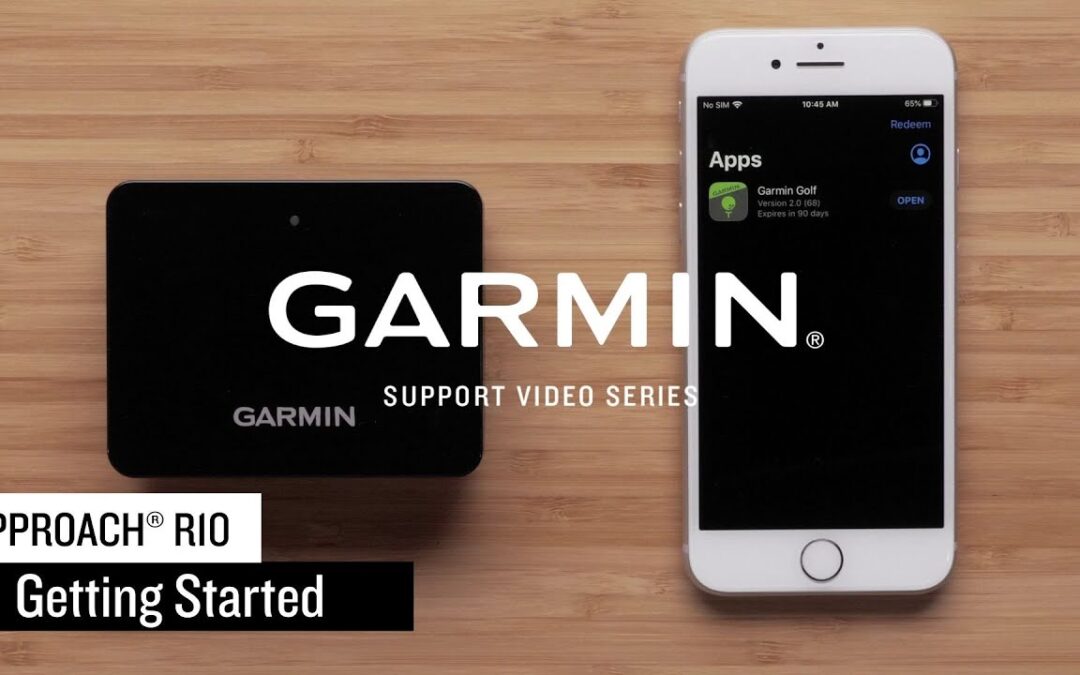
Today we’re going to show how to setup your new Approach® R10 First, we will begin by pairing your Approach® R10 with your compatible smartphone You will now need to download the Garmin Golf™ app on your phone In this video we will be using an Apple® iPhone, but the process is similar on Android™ devices Once the download is complete, open the Garmin Golf™ app Sign in with your Garmin account or create a new account if you don’t have one For this video, we will be creating a new account Once you've entered in your information, agree to the terms and conditions and press "Next" Now, we will need to open the menu to start the pairing process To open this menu on an Apple® iPhone, touch “More” at bottom of the screen If you’re using an Android™ smartphone, touch the three bars at the top of the screen Next, touch “Garmin Devices” from the menu Then, touch “Add Device” and select the Approach® R10 from the list On your Approach® R10, press the button to turn on your device If this is the first time you’ve powered on your Approach® R10 it will automatically enter pairing mode To confirm pairing is enabled, the front LED will be solid blue If your LED is not solid blue, press and hold the power button for about 1 second to power off the Approach® R10 Then, press and hold the button until the LED turns solid blue Now that your Approach® R10 is ready to pair, touch “Start” on the Garmin Golf™ app Then, press "Connect It" to begin pairing Once the pairing is completed, press “Finish” Next, we need to set up the mounts for both the Approach® R10 and your smartphone To complete this, you will need the Approach® R10, the tripod mount and both pieces of the phone mount Let’s start with the phone mount First, insert the ball end of the bag clip mount into the back of the phone clip This may take some force to snap together With the phone mount assembled open the large clip and attach it to your bag Now, we can open the adjustable slide and insert your phone If needed, you can reposition the phone angle or clip placement but be sure that the phone is lower than the top of the bag to avoid contact with your clubs Finally, grab the Approach® R10 and the tripod mount The tripod is magnetic and will easily attach to the back of the Approach® R10 Once attached, extend out the feet In this section we will cover how to position the Approach® R10 with your target When setting up a tee location, be sure that the tee location and the Approach® R10 are on a flat level surface If you are hitting the ball into a net, be sure that your tee location is at least 8 feet away from the net To align the Approach®, let’s start by placing a ball on the tee With our tee location determined, we can now place the Approach® R10 on the ground between 6 and 8 feet behind the tee location While positioning the Approach® R10 use the red line on the top of the device to align the ball to your target To help with alignment you could also lay down one of your golf clubs between the alignment line and tee You may want to position your golf bag in front of you to quickly view your shot’s data on the Garmin Golf™ app Since you are able to video record your swing through the app you may choose to position your bag next to the Approach® R10 You are now ready to take some swingsen To start recording your data, open the Garmin Golf™ apppari Then, select “Golf Sim” and select one of the game modes The app will then guide you through the rest And that’s it! Thanks for watching! For more help, please visit support.garmin.com
