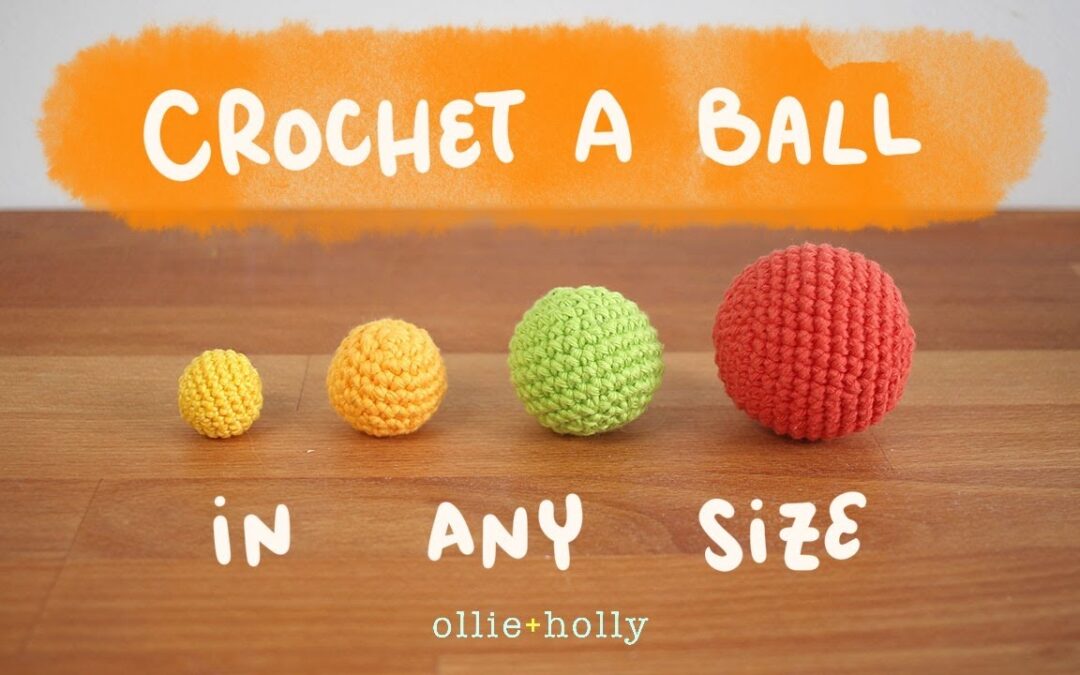
Hello this is Abby from OllieHolly.com in this video I will be teaching you how you
can crochet amigurumi balls in different sizes this is not a tutorial for beginners where I give
you the exact pattern but it will be more like an entry class to amigurumi design where I walk you
through the process of designing a basic ball so if you're not familiar with amigurumi already please go through my amigurumi playlist for
beginners first before proceeding with this one I've linked it in the description
box down below and up here as well and as usual you'll find all the timestamps
and the corresponding blog posts linked in the description box down below as well before
I start I also wanted to note that designing amigurumi involves a lot of trial and error when
designing a piece even one as simple as a ball I still find myself having to frog
my piece to get the desired shape I'm laying out the basics in this tutorial but you
will need to play around with the number of rounds on your own to try things out you'll likely frog
your projects a couple times to improve the shape until it is to your liking making and remaking is
very tedious but trial and error is a completely normal part of amigurumi design anyway without
any further ado let's start designing a ball when designing amigurumi the first thing you need
to do is to break your design up into different sections this makes it easier to see what you
need to do in order to achieve the desired shape to make this ball easier to understand I've
broken it down into five different sections for more complicated shapes you'll have
to break it down into a lot more sections section one right here is the circle the first thing you will need to do when
creating a ball is to crochet a circle personally my default pattern when designing
amigurumi is to work in increments of six stitches per round so what that means is I start with
six stitches in my magic circle then I increase in each stitch to increase the stitch count
of my next round by six stitches after that I will continue to increase each round by six
stitches until my circle size is to my liking so what that looks like with a basic pattern
is this like I said previously I start with six single crochet in my magic circle then
in round two I'm increasing into each stitch you'll then notice that the stitches between
the increase stitches increase by one each round you'll also see that the
stitch count of each round increases by six per round because you're
increasing a total of six times each round you can also work in increments
of 8 which some people like to do when working in increments of 6 your circle will
start to get more dome-like as your circle gets bigger so you'll see that in this piece here
this is worked in increments of six increases the highlighted stitches here are the increases
and you'll see that there are six of them working in increments of a creates a flatter
circle which is more suitable for some projects here's a comparison of the
two of them side by side to work in increments of eight you just
have to start off with eight single crochet stitches in your magic circle instead of
six then you would increase the same way so that would be eight increase then
instead of repeating single crochet and increase six times you'll be doing
that eight times and so on and so forth another thing I wanted to talk about before
continuing with the ball is how you can create a rounder circle when working in the round
when I first started making amigurumi the way I would increase each round is by increasing
on top of the second stitch from my increase from the previous round this is typically
how most patterns are written for beginners as it's easier to understand so the patterns
typically look like this one however I quickly noticed that instead of being round my
circle was looking a little bit more hexagonal that's because the increased stitches
were stacked right on top of each other and creating a corner that is a little
bit more pronounced and pushing it out so to make my circle rounder I decided to
stagger the increases so that they're not always sitting on top of each other this rounds out the slight peaks a bit better
and makes the increase less obvious in projects so here's typically what my patterns will look like for the first six rounds
when I'm working my circle this way now looking at round four so that's
this one and this one right here you'll notice the difference between
the basic pattern and the one i prefer instead of just working two single crochet and
increasing a total of six times all the way around what I'm doing here is I'm splitting up the first
two single crochet stitches so that one of the two stitches is sitting at the beginning of the round
and the second stitch ends up at the end of the round similarly in round six I split up the four
single crochet at the beginning of the round so that two of the single crochet
can sit in the front of the round and two towards the end of the round you'll
also notice that with each round I'm still increasing the total stitch count per round
by six stitches but instead of the increased stitches stacking very neatly on top of each
other like you see in this piece right here it's a little bit more staggered so
that no one point is sticking out more how big your circle is will roughly dictate how
big your ball will be if you start off with a smaller circle like in this green balls case this
is a four round circle your ball will be smaller and with this red ball here I
started off with a five round circle so it's slightly bigger than the green ball the bigger the circle you start
off with the bigger your ball for section two I've actually divided it
into two different parts because there are two different parts that need to work together to
help us gradually get to the diameter of the ball section two a is where we start building
the sides of the ball to do so all you have to do is work one single crochet into
each stitch of this round and not increase and just as a note here from this point on
anytime i say side building round it means you're just working one single crochet into
each stitch and not increasing for that round the number of side building rounds you will need
will depend on how big your initial circle is the bigger your circle the more side building
rounds you will need all the balls i have here are quite small so they all need a round
or two of side building rounds for this section the more side building rounds you work
the more oblong your ball will become the number of rounds you need here will also
depend on how tall each of your stitches are this will depend on a couple things the weight of the yarn you are using so the
thicker your yarn the taller your stitches will be as an example this red ball here is air and
weight and this yellow ball here is lace weight when you put them side by side you'll notice
that it's pretty obvious that the stitches on this yellow ball here are much shorter
than the stitches on this red ball here your stitch type will also make a difference
the x stitch which is what I'm using in this ball here is slightly shorter than
the standard single crochet stitch and finally your hook size will affect
the height of your stitches as well using a smaller hook will compress
your stitches a little bit more so keep all of these things in mind while
designing your ball this is why trial and error is an inevitable part of amigurumi design because
so many factors affect the shape of your piece next in section 2b we're going to introduce in
an increase round doing so slowly flares out the ball to help us create a curve to the side of
the ball before hitting the equator of the ball so in this case as a reminder this increase round here would increase my
stitch count by six stitches also you'll see that this part
here is slowly curving outwards for a smaller ball like this one after you
work section 2b you can just skip right ahead to section 3 to start working on the equator of
the ball which is the widest part of this ball if you started off with a larger circle you'll
likely have to repeat the entire section too a few more times doing so will help introduce
a more gradual curve before you get to section three which will be the widest part of our ball your final increase round
which is the final section 2b that you work will dictate how wide the
widest part of your ball will roughly be so when you look at this ball here
you'll see that this here is the final increase round and the widest part of the ball
is only slightly wider than this round here section three is where we start
building the equator of the ball this entire section is just
made up of side building rounds the number of rounds you will need here
will depend on the size of your ball looking at these two drawings here you'll
notice that the section 3 in the smaller circle is shorter than the section 3 in the larger circle some people will also work an
increased round right at the equator but I find that once your piece is stuffed your
side building rounds without an increase round will actually get pushed out enough for a
perfect rounded look so an added increase around there would actually make that area stick
out a little bit too much and isn't necessary however feel free to try it out and play around like i said before trial and error
is a huge part of designing amigurumi section 4 just like section 2 will be divided
into two parts it's very similar to section 2 but instead of working an increase
round we'll be working a decrease round section 4a is the exact opposite of section 2b this is where you start to work your
decrease round to slowly taper in the sides so because my ball is worked in increments of
six I'll be decreasing this round by six stitches you can see the decrease round right
here and how it slowly pulls in the side to help us create that bottom curve of the ball section 4b just like section 2a is where
we work our side building rounds to bring the sides of the ball down to
where it meets the final circle like I mentioned in section two if you're
working a bigger ball you will likely need to repeat this entire section four a couple times
to make the taper a little bit more gradual in our final section which is section 5 right here we'll be working decrease rounds until we
get our stitch count down to 12 stitches just like before I'm decreasing each round by six stitches until I'm down to
12 stitches in the final round also as a side note I personally do not like
decreasing until there are six stitches left because I find that the hole doesn't close
up as neatly with my whole closing method also because my bottom circle is one round
short when compared to the top circle I will sometimes add an extra side building
round to section 4 for the bigger balls for the smaller ball here I've kept both
side building round sections so that's section 2a and 4b to the same number of rounds
so that's really it for designing a basic ball all you have to do after tapering the sides of the
ball in is to stuff the ball and close the hole you can experiment with the amount of
side building rounds and the amount of the different sections you have
to change the shape of your piece now if all that sounds too complicated and
you don't have the time for experimenting the easiest way you can make a smaller
or bigger ball with an existing pattern is to change the weight of your
yarn and the size of your hook here I have two balls made
with the exact same pattern this one here is made with air and weight yarn
and a 3.25 millimeter hook this smaller one here is made with a soft weight yarn with a 2.25
millimeter hook just keep in mind that when changing up your yarn weight and your hook size
the height of your stitches will also change patterns are usually written with a specific
weight of yarn and hook size in mind when you change that up your finished item may
not look exactly the way it was designed to look the same pattern worked with a lighter
weight yarn may look a little bit shorter and when you size up your yarn weight sometimes
your finished item will look more oblong and that's it for this tutorial the
method I've laid out for designing a ball in this video are the
basics for designing amigurumi you can take methods here and apply them
to slightly more complicated designs so as an example I have here my daruma
pattern and the way it's worked up is actually quite similar to a ball this piece
can also be broken down into five sections so right here we're starting with
section one which is the circle then for section two I repeated 2a and 2b all
the way until here so this is my final 2b round so basically after the initial circle I worked a
few side building rounds then increased to slowly flare out the side and then repeated that entire
section to slowly flare out the sides even more and right here I only have one round for my
section 3 which is the widest part of my piece for this piece because I want the bottom to
sit flat I actually skip the entire section 4 and jump straight into section 5 and in section
five I just decreased each round by six stitches until I hit 12 stitches in the final round as you
can see it's quite similar to designing a ball understanding how the side building rounds and
increase slash decrease rounds work together to affect the shape of your piece is the first
step to learning how to design amigurumi if you're interested in making this daruma you'll
find the pattern on my blog thanks for following along with this video I hope that this was helpful
to you and I hope to see you in the next video you
Crochet a Ball in Any Size | Amigurumi Design Tutorial & Basics