Narrator: Car windows are tinted for a variety of reasons, like privacy, style, safety, or UV protection. While some people install
their own tint at home, others prefer a more professional touch. That's where pros like Elliot Baker, the founder of Tint
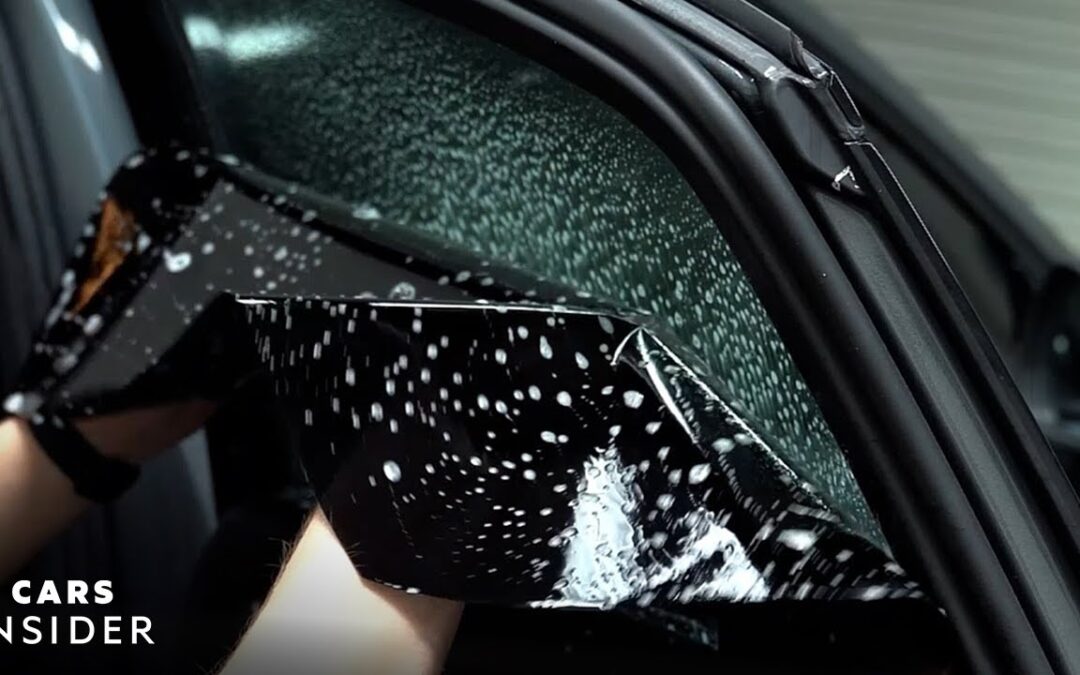
School Online, come in. This is his process for tinting windows. The first step is to roughly cut the tinted film down to size. Elliot starts by spraying
soapy water onto the window before cutting the film
and sticking it on top. The soapy water allows the film to glide across the window, so Elliot can position the film as needed. He adjusts it so the bottom edge hangs about a half inch below the window. He'll tuck this underneath
the windowsill later.
Elliot cuts along the side of the film using a stainless steel blade to prevent scratching. Then he slides it to overlap the window by about 1 centimeter. Next, he cuts the
opposite side of the film and slides it back over to properly fit on the window. With the window rolled down, he cuts along the top edge and removes the excess film. To make sure the film is snug, Elliot uses a heat gun and a squeegee to shrink the film down
to the proper size. Then he removes it from the window and places it on a peel board, where he cuts the loose edges. Since the film will be installed
on the interior window, Elliot preps it by cleaning the glass and removing any contaminants that may cause imperfections in the tint.
Here, you can see him using a razor blade to lift any stubborn particles
stuck to the surface. Once the window is clean and dried off, Elliot sprays it with
soapy water once again. He removes the film backing
and douses it in soapy water before removing it from the peel board. He first slides the film
down into the windowsill, allowing only the bottom
half to touch the window. Once the bottom half is in place, the rest of the film meets the glass, and Elliot carefully moves it around until it perfectly covers the window, leaving a slight gap at the top, a standard practice. He carefully squeezes the
soapy water out of the film, anchoring it to the window.
Most cars have drains in the doors, which prevent the water from damaging any internal electronics. Elliot repeats these steps
on the opposite window. The rear window follows a similar process, but because of the curve in the glass, the window tint requires more shrinking at the top and bottom to properly fit before it can be installed. With the film cut to
size on the rear window, "fingers," or these long bubbles, indicate where there is
more film than window. Shrinking the film is a balancing act. Too much heat, and you damage the film; not enough heat, and
the film won't shrink. After Elliot hits the
fingers with the heat gun, he uses a squeegee to carefully remove the air trapped underneath. Once the film is shrunk down to size, Elliot installs it on the
interior of the rear window using the same technique as earlier: dousing it with soapy
water, removing the back, and squeezing out the soap water to anchor the film to the window.
And now the tint job is complete..