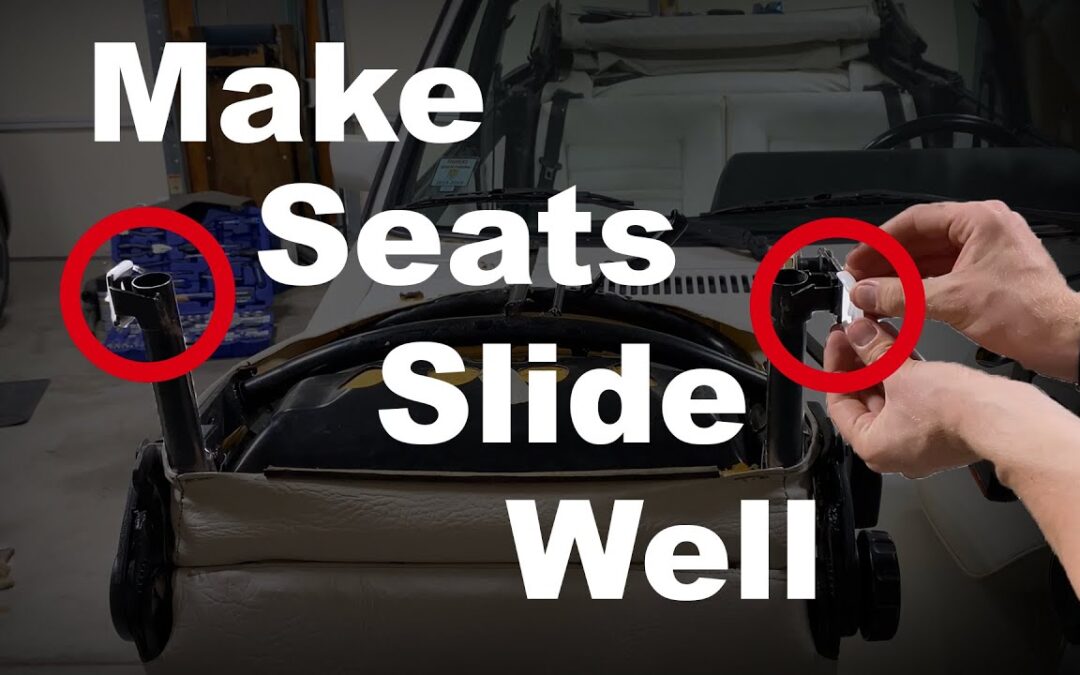
A lot of people complain that their seats in their VW are very difficult to slide or that they're very wobbly. However, this is an extremely easy fix. Welcome to Oli's Repairs! After about 30 years of use, these plastic sliders which mount at the back of the seat, and this one mounts at the front; they end up getting worn down and they even break. This causes a large gap and then metal on metal friction to be occurring making them very difficult to adjust, and we will be replacing these plastic pieces today. The tools and parts required for this repair are listed right here. As always links and part numbers are in the description below. To remove the seat we first have to remove this nut right here. This is in place so that it can prevent the seat from scooting all the way back when you release the lever, So your seat just doesn't fall out of the track while you're trying to scoot it back and adjust it while driving.
Then we have the spring that's right here just simply unhook that. With the front bolt removed now fold the seat forward. With the seat folded forward we now will be removing the seat rail cover. To do that you need to remove this little plastic rivet that's holding it in. It's very simple grab a screwdriver and push in on this little center piece right here to push this little plastic piece through and then you can just pull it up, remove the seat rail cover, and then don't forget to retrieve this little plastic piece that we just pushed through. Look underneath the seat and disconnect any wires that run from the seat to the vehicle. The seat is now free. You can tilt the backrest back, grab the lever on the front, lift it and slowly scoot your seat all the way back and out of the rails. And then carefully lift it out of the vehicle. It's easiest to do this with the top down. The set that I purchased off the internet contains two sets.
The first piece is going to have this little lip right here, it goes on the outside seat rail the second piece does not have that lip. It goes on the inside seat rail, and then this flexible rubber piece goes inside the vehicle. To remove this guide use a screwdriver press in on this little tab and then just slide it straight off. Similar process, just kind of pry this up right here so that we release this little tab that locks in there. Make sure to clean all this so it always gets disgusting and some people grease them then it collects a bunch of dirt.
Grab your new piece i have this little tab from the casting process; very carefully cut it off flush and then just slide these pieces on as we discussed the orientation earlier. Take this one make sure this little cutout is facing the top of the seat and slide it on as well. Push it in with your finger a little bit, it'll snap in place. This rail will have accumulated a lot of dirt from the grease over the years so make sure you give it a good cleaning. Wipe it down very well. Inside the vehicle: this is your the locking pin that prevents the seat from sliding.
You can remove that, and then here we have our front seat guide. As you see this is pretty old, deformed, and smooshed. Clean everything around here. Make sure you clean all the grease off of this piece as well. People are always under the guise that more grease means more lubrication. Really it just means you're going to be collecting a lot of unnecessary dirt. It does you no good if you clean the pin in here but not the actual sleeve where it slides into. I'll be using a little bit of a silicone grease to grease the sliding surfaces on this front slider.
We can also grease this little nub that slides into the hole, and then take it so these little pieces that point downwards will point down and where these two slits are this is going to be on the top. Just take it and slide it in place. Again, a little bit of silicone grease, and we'll grease this shaft of this little locking rod right here. We don't need very much, so all the extra you just kind of wipe it off and slide it in place. Don't forget to clean these seat rails. Everyone always uses grease on these and that ends up resulting in the collection of a bunch of extra sand and just gunk, so make sure you clean these out very well. When you're in this deep it's a good idea to give it a good vacuuming because you probably won't have this good access until you remove the seat again. Here we use the silicone-based lubricant because this area is elevated from where there's always grime and sand coming in with the feet.
Whereas on these rails you want to make sure that you use a dry lubricant. So i'm using a graphite lubricant here. You don't need very much; it is plastic sliding inside of a metal, but a little bit of graphite lubricant is always good. So, you can just go in there give it a little bit of some squirts, especially in these areas where it's really sliding a lot and then do the other rail the same way.
This graphite lubricant is obviously a dark gray. So, since I have a black carpet, it works out if there's a little bit that makes it over under the carpet when the seats are being slid in and out, that's no problem. If you don't have a dark carpet like this, you can use either a wax-based lubricant or you can even just not lubricate it. Again, it's plastic sliding on metal rails. The plastic will give way before the metal rails and the plastic's easy to replace. Greasing the seat rail again with a little bit of silicone-based lubricant. I'm focusing my greasing efforts on this metal portion right here because that's what will be sliding on top of that rubber piece that we also greased.
A little bit can be applied to the sides here, you do not need very much because those will be sliding against the metal on occasion, but again you do not need very much grease at all. Place the seat in the rails, and then make sure this pin is slid out a little bit and carefully slide it forwards. Adjust this adjustment lever and align it with this pin here so that they slide within each other.
And there we go; you have now successfully slid in your seat. Next take the spring you can slide this larger end over the vehicle portion and then stretch the other end into this little hole in the pin. There you can see right there it's attached. Next grab your retaining bolt and nut, slide it through the hole, slide on your locking washer, and then finally put on the acorn nut. There's no torque spec listed for this, but it also doesn't need to be extremely tight. It's just a retaining nut going into a little piece of metal so just snug it down. To install the seat rail cover, this little piece right here needs to slide right inside of that hole so just slide it at an angle, and then it'll lay perfectly flush. Take this plastic retaining piece, slide it in, and then on this little plastic piece here there's one end that has a little slit in it, and then there's another end that's flat, and it's actually textured just the same as this little piece here.
So, make sure you take that textured end and keep it on the top so that it matches and it's nice and original. Slide it in carefully and you might need a screwdriver to carefully tap it in, just like that. Underneath the driver's seat make sure you connect this little wire right here. This is to indicate if your seat belt isn't buckled. If you have heated seats, there'll be a second connector to connect as well for your heated seat elements. Hopefully this repair makes your seats more easily adjustable and also more stable inside the vehicle. Thanks for watching another episode of Oli’s Repairs. Please like, subscribe, and comment for more!.